Uploading SSH Keys
Now that you have generated your SSH keys, you should upload the public key (NOT the private key) to the authentication system.
Copy SSH Key to Clipboard
First, get your public key in a plain text format, ready to copy and paste it. The text you will upload should look something like:
ssh-ed25519 AAAAC3NzaC1lZDI1NTE5AAAAIEgOP7sQ2YydiyHVjFVCzBcX20lM10U0wPKNtY9sUu8q foo@mylaptopssh-rsa AAAAB3NzaC1yc2EAAAADAQABAAACAQDMd+BFyyJ1d8bKznh8FmKhguSLN/6x2B3mK1zxjiw9Rq5KA4dPGNGULLUhwEd1oracXdi/sMbK9ZduCYt7L19r/K2v4OS9T4IGdMYWR1EbIvFkAvgnnZ2Mo0zDpQtDEn/sbJXbgfexc+ymSXAehX6cSn+7Hq8beBX0OFfcIyHPm15VeI0S0sxn5SEjw78lFiNRFlFWphtGflr7OLQUugXBNqailduGWswbpXBp622sdjI3Cj7DHnJh/7GQhAuGXvAedDEcPrRjYXPIY4nQ3KxtevPDwye4+PBO97FwAd02QQXOrenFhXqbAuG0+rEtCWii/ETKB1BYWmXW+atyMdKT18+nW34VqOeNDoQuwXwri1TrqYo4XwjKB33rgAwsYdUVBVIGxc8kyrSsGEiLHKgl18A6OST0ATKXmuhNBt6PjTrU/tV80YAZD2ACGmhyB2plR+p/mVURcv7KuHyclJ/dnk7i/5Iw4PMQBfvALuUho9sIk9EX09P+zvC8TpcTS5gesYJGvocuIF+iVjyQQmUqKquR/5C+mUhtJ2Iqliks3mIkVzzzoEPNWc/Hz50Iu0VeW/YggZhllFHjzeAinE+yl2lpQzD+1bFgruXSiAkiN/QUu3WEI/HDX4g5vRurBKd/wzK201ygOm0wYCthJzQKKM7R5TZYHitXC05omf35Pw== foo@mylaptopIf your SSH key is stored in the same style as OpenSSH (whether made by OpenSSH, MobaXterm, etc.), open your public key file in a plaintext editor such as Kate or Gedit (Linux), TextEdit (Mac), Notepad (Windows), VSCode, Vim, Emacs, etc.
Usually, the public key has the extension .pub.
From there, copy your public key to the clipboard so you can paste it for uploading.
Warning
Do NOT use a document editor like LibreOffice or Microsoft Office. They can add invisible formatting characters, non-ASCII characters, newlines, etc. which will make the copied key invalid and prevent you from logging in.
Upload Public Keys via AcademicCloud
Public SSH keys for all Project Portal usernames (u12345) are inherited from their primary account, which is the AcademicID they belong to.
To make your key(s) known to our system, you have to upload them to AcademicCloud.
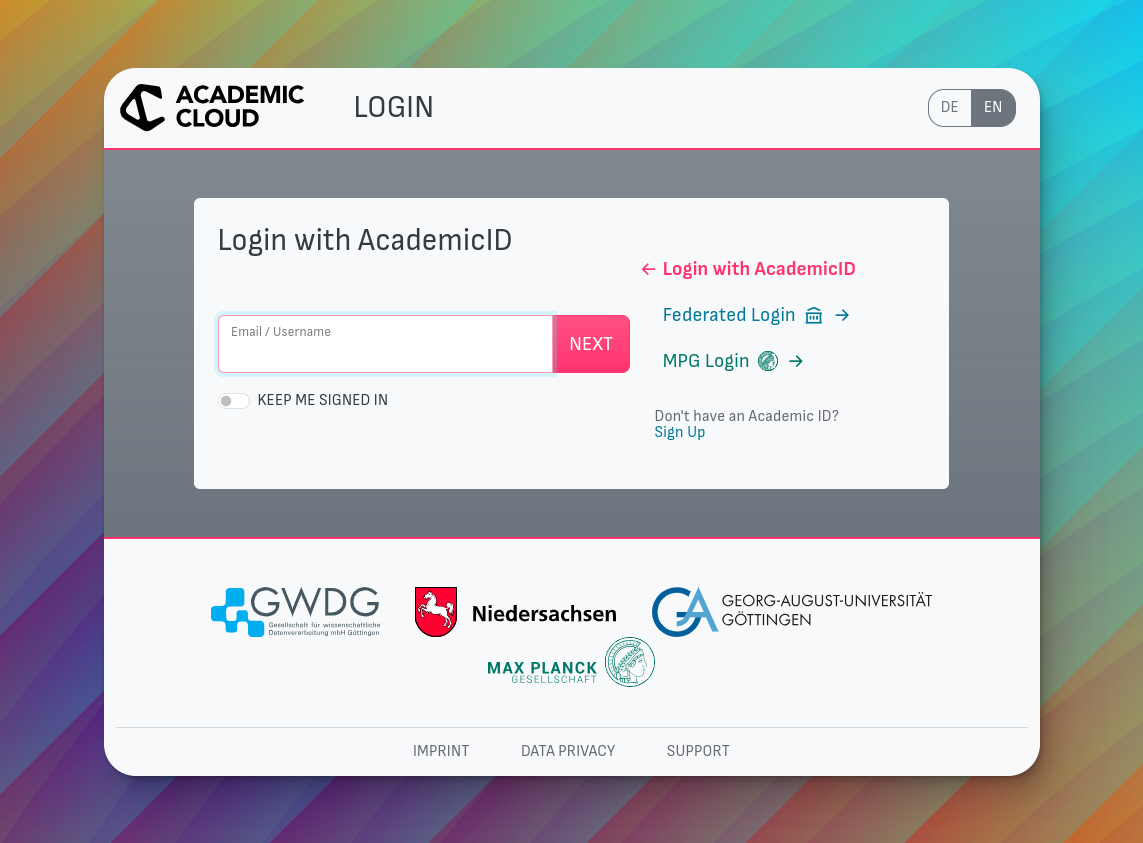
First, go to Academic Cloud, which is shown in the screenshot below:

Academic Cloud Landing Page
Location to login to in order to upload SSH key.
Click “Login” and proceed to enter the email address that was used to add you to your project in the HPC Project Portal. You should have received an email notification that you have been added to an HPC project in your inbox of that email address. For academic institutions serviced directly by GWDG (like the MPG and Georg-August University), this will be your institutional email address. If your institution is part of the federated login system of DFN-AAI (German National Research and Education Network Authentication and Authorization Infrastructure), this will be your email address at your home institution.
Enter your password and do any 2FA/MFA (Multi Factor Authentication) you have enabled.

Academic Cloud Login Page
Enter login email address, password, and 2FA/MFA (if used) here to login.
After you have logged in, you will see something like the screenshot depicted below. Click the three dots next to your name at the top-right and select “Profile” to get to your account settings.

Academic Cloud Main Page
Main page after logging in.
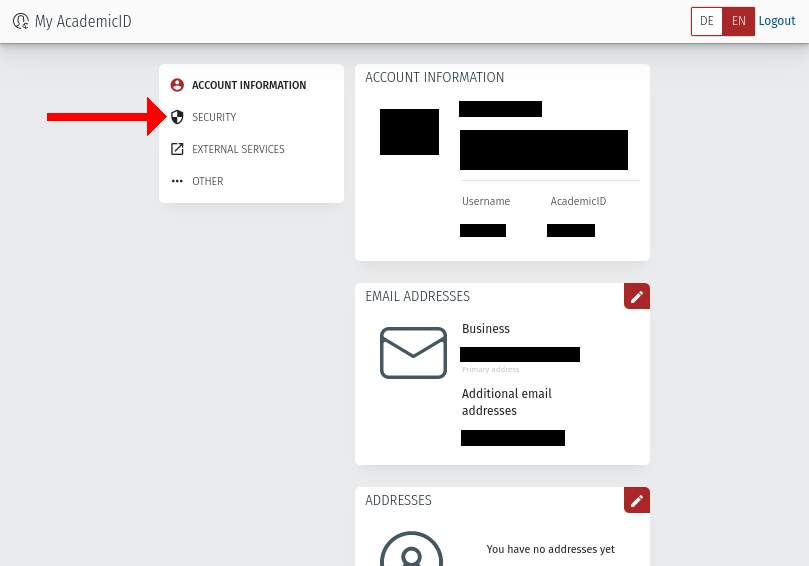
You will see some information about your account, like your AcademicID or primary account username (which is different from the one you will use to login to the cluster), AcademicID number and more. Click “SECURITY” in the navigation menu to the left.

Academic Cloud Account Settings
Account settings page with navigation menu to the left.
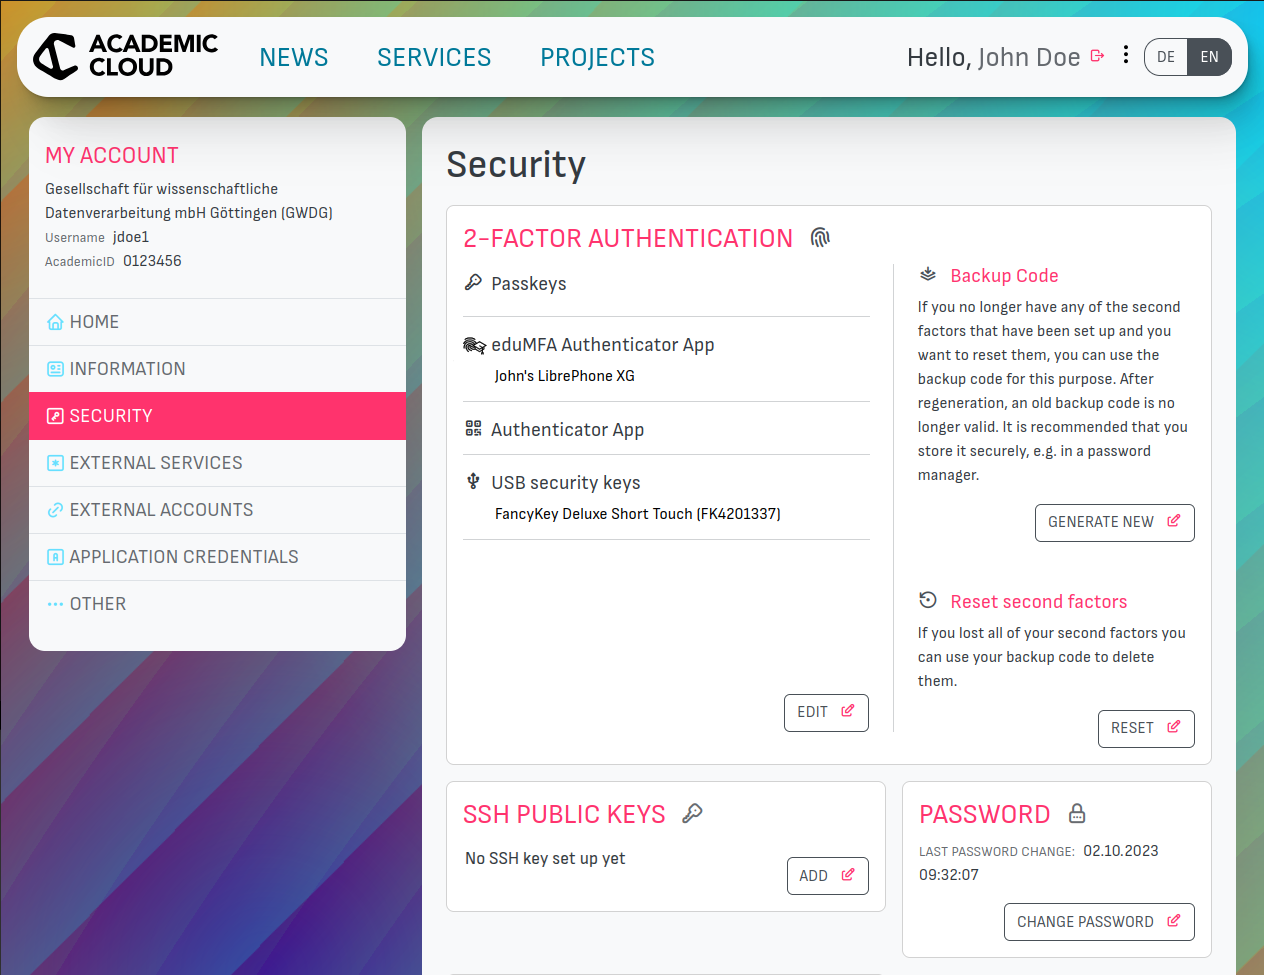
In the security panel, locate the box “SSH PUBLIC KEYS”. Any SSH public keys you have uploaded earlier should be listed here. Click the “ADD” button to the right of that box to add your new key.

Academic Cloud Account Security page
Click ADD in the “SSH PUBLIC KEYS” box at the bottom.
If you have setup 2FA/MFA, you will be asked to re-authenticate again. In the following window, paste the key you copied to your clipboard earlier and optionally add a suitable comment. Click “ADD” again to confirm and save your new key.

Note
It can take a few minutes until the new key is synchronized across the systems. If the login does not work immediately, please wait a while and try again.
Deleting lost/stolen SSH keys
To delete an old key that you don’t need any more, have lost or that might have been compromised, start by following the same steps as detailed above. In the last step, at the point where you can add new keys, you will see a list of your existing ones with a trash can icon next to each. Click it and confirm the deletion in the following dialog.